Tech-savvy checklist for MacBook screen and Motherboard repairs in South Africa
Discover Necessary Tips for Gizmo Fixing: Expert Insights on Screen Repair and Motherboard Fixing
When your device starts breaking down, it can be aggravating. Knowing just how to take on usual problems like screen damages or motherboard failures can conserve you time and cash. You'll need the right tools and techniques to manage these repair work efficiently. However where do you start? Comprehending the signs and having an organized approach is key. Allow's check out the basics that will certainly prepare you for your following repair difficulty.
Understanding Typical Gizmo Issues
Devices can be a source of disappointment when they malfunction, however understanding usual concerns can conserve you time and cash. Begin by checking the battery; it's commonly the wrongdoer behind several issues. If your tool will not power on, validate the battery's billed or replace it if needed. Next off, look at the software; obsoleted applications or running systems can cause sluggish performance or crashes. Normal updates can resolve these problems.
If you're facing connection issues, whether with Wi-Fi or Bluetooth, reactivate the gadget. This simple action usually solves lots of connectivity problems. Getting too hot is an additional typical issue; confirm your gizmo isn't blocked by dirt or debris, which can prevent air flow. Finally, if your display is less competent, try a soft reset. Comprehending these standard problems can aid you fix efficiently and stay clear of unneeded repairs or costs down the line.
Essential Tools for Gizmo Repair
When you're all set to deal with gizmo fixings, having the right tools is necessary. You'll require essential repair service tools, security tools basics, and some specialized tools to get the work done. Let's explore what you ought to have in your toolkit for an effective repair work experience.
Must-Have Repair Work Devices
Having the right devices is necessary for successful gizmo fixing. Spend in a high quality screwdriver set, including numerous dimensions and types like Phillips and flathead. These will aid you tackle various screws in various devices. Next, a set of tweezers is crucial for managing little parts and detailed jobs. You'll additionally desire a spudger or plastic opening device to tear open gadgets without harming them. Do not fail to remember a suction mug for screen repairs, enabling you to lift displays conveniently. In addition, having a multimeter is indispensable for detecting electric concerns. An excellent work surface area with appropriate lighting will certainly make your repairs a lot more efficient. With these must-have tools, you'll be well-equipped to take on any kind of device repair difficulty.
Security Equipment Basics
Security is paramount in gizmo repair, and having the best safety tools can avoid accidents and injuries. Begin with shatterproof glass to secure your eyes from small debris or glass shards. A great pair of gloves, ideally anti-static, will certainly secure your hands from sharp sides and lower the danger of electrostatic discharge. Consider using a dirt mask to stay clear of inhaling unsafe particles, especially when collaborating with older gadgets. An ESD wrist strap is necessary for grounding on your own to avoid fixed damage to sensitive components. Keep a first-aid kit close by for any type of unforeseen incidents. By outfitting on your own with these fundamentals, you'll produce a safer office and improve your general repair work experience.
Specialized Device Instruments
Step-by-Step Guide to Screen Repair Service
Repairing a split or shattered display can seem challenging, however with a few tools and some perseverance, you can do it yourself. Gather your materials: a substitute screen, a heat gun or hairdryer, and accuracy devices like screwdrivers and plastic prying tools.
Begin by powering off your gadget and getting rid of any protective instances. Make use of the warmth gun to soften the glue around the display - MacBook screen and Motherboard repairs in South Africa. Thoroughly tear the display away from the tool, taking your time to stay clear of damaging internal parts
When the old display is eliminated, tidy the location and apply the new screen, guaranteeing it straightens correctly. Press strongly to secure it in area, after that reconstruct your tool.

Diagnosing Motherboard Troubles
When your gadget begins acting up, the motherboard could be the perpetrator. You'll intend to try to find usual signs like unexpected closures or failing too. By examining the elements properly, you can determine the issue and select the following steps.
Usual Symptoms Determined
Exactly how can you tell if your motherboard is the wrongdoer behind your gadget's issues? Start by observing your tool's actions. If it constantly stops working to power on, ices up regularly, or accidents suddenly, these can be indications of motherboard problem. Try to find unusual noises, like beeping throughout startup, which usually suggests equipment troubles. You might also notice that some ports or components aren't working, such as USB drives or graphics cards. One more warning is overheating, causing automated closures. If your display shows artifacts or fails to reveal anything, the motherboard could be stopping working. By determining these typical signs and symptoms early, you can resolve the concern before it gets worse, conserving money and time over time.
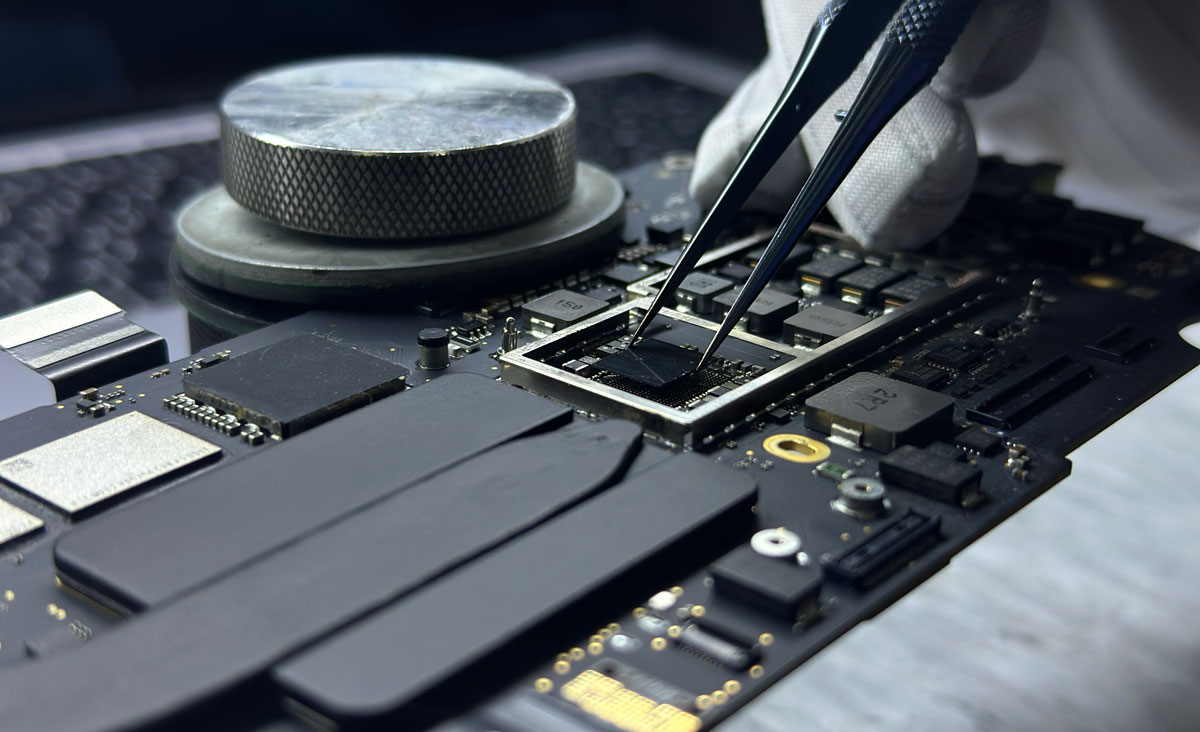
Examining Elements Effectively
Examining elements efficiently is vital for diagnosing motherboard troubles. Begin by checking the power supply. Confirm it's functioning appropriately and providing the required voltage. Next, inspect the capacitors for protruding or leak, as these can signal failing. Utilize a multimeter to examine resistors and diodes; they need to reveal resistance worths within anticipated varieties. If you have access to a thermal camera, utilize it to identify getting too hot components. Additionally, reseat RAM and development cards, as loose links can cause issues. If the motherboard still doesn't function, think about using a POST card to check error codes. Remember, patience and systematic testing are type in identifying the official statement specific source of the trouble, so take your time.
Safe Practices for Do It Yourself Repairs
Security needs to constantly be your top priority when tackling Do it yourself gizmo fixings. Start by disconnecting your tool and getting rid of batteries to stop any kind of electric threats.
Make use of the right devices for each task; do not force a device if it does not fit. Ground on your own to avoid fixed power from damaging sensitive elements-- use an anti-static wrist band if you have one. Acquaint on your own with the gizmo's guidebook prior to diving in; comprehending the layout and setting up can conserve you time and irritation.
Ultimately, take breaks to clear your mind and avoid exhaustion. Hurrying can lead to mistakes that might damage your tool or trigger injury. Always focus on safety to assure a successful repair experience.
When to Look For Expert Aid
While several device repairs can be dealt with in your home, there are times when it's best to contact an expert. If you discover yourself managing a broken display that seems past a straightforward solution, or if your device won't power on in spite of your efforts, do not wait to look for expert assistance. Complicated concerns like motherboard damages typically require customized devices and understanding that you might not possess.
In addition, if your tool is still under service warranty, trying a DIY repair work could invalidate that insurance coverage. Always remember, understanding when to tip back can be simply as important as recognizing how to repair.
Safety Nets to Prolong Device Lifespan
To ensure your devices last as long as possible, embracing safety nets is crucial. Initially, keep your gadgets clean. Frequently clean displays and key-boards to stop dirt accumulation and crud. Next off, spend in high-quality instances and display protectors; they can absorb shocks and reduce damage from drops.
Be conscious of battery wellness-- prevent letting it drain entirely or overcharging. Rather, charge your devices when they hit around 20%.
Do not multitask exceedingly or run as well lots of apps concurrently; this can strain your tool. By following these tips, you'll significantly improve your devices' durability and efficiency, conserving you time and cash on repairs.
Frequently Asked Questions
Can I Fix My Device With No Previous Experience?
You can fix your device without previous experience, but it'll take perseverance and some research. Start with basic solutions, enjoy tutorials, and gather the right tools. You'll find out and enhance with method.
Just How Much Does Specialist Repair Typically Price?
Professional fixing prices differ widely, commonly ranging from $50 to $300, depending upon the device and the concern. You need to always obtain a quote prior to proceeding, ensuring you understand the expenditures involved.
What Guarantees Cover Do It Yourself Fixes on Gadgets?
The majority of suppliers' warranties do not cover do it yourself repairs, however websites some offer minimal coverage for components if you follow their standards. Always examine the guarantee terms before beginning any kind of repair service to avoid invalidating your insurance coverage.
Exist Details Brands Easier to Repair Work Than Others?
Absolutely, some brand names are easier to repair than others. Business like iFixit frequently offer comprehensive overviews, while brands like Apple can be a lot more challenging due to proprietary parts and limited documentation.
Exactly How Can I Reuse Old Devices Responsibly After Repair Service?
After you repair your official website old devices, take into consideration contributing them to local charities, reusing through accredited e-waste programs, or offering components online. Always assure they're gotten rid of responsibly to minimize ecological effect and advertise sustainability.